
How to get Home Assistant to run as a VM in Proxmox!
In this guide, we will use the Proxmox community scripts, to install Home Assistant Operating System (HAOS) as a virtual machine in Proxmox Virtual Environment (PVE). If you first need to install and configure Proxmox, check out this guide: https://disorder.dk/wonderware/2025/01/30/installing-proxmox-on-a-lenovo-thinkcentre-m910q/
The Proxmox community scripts can be found at: https://community-scripts.github.io/ProxmoxVE/ and more specifically, we will use the Home Assistant script, with the following description:
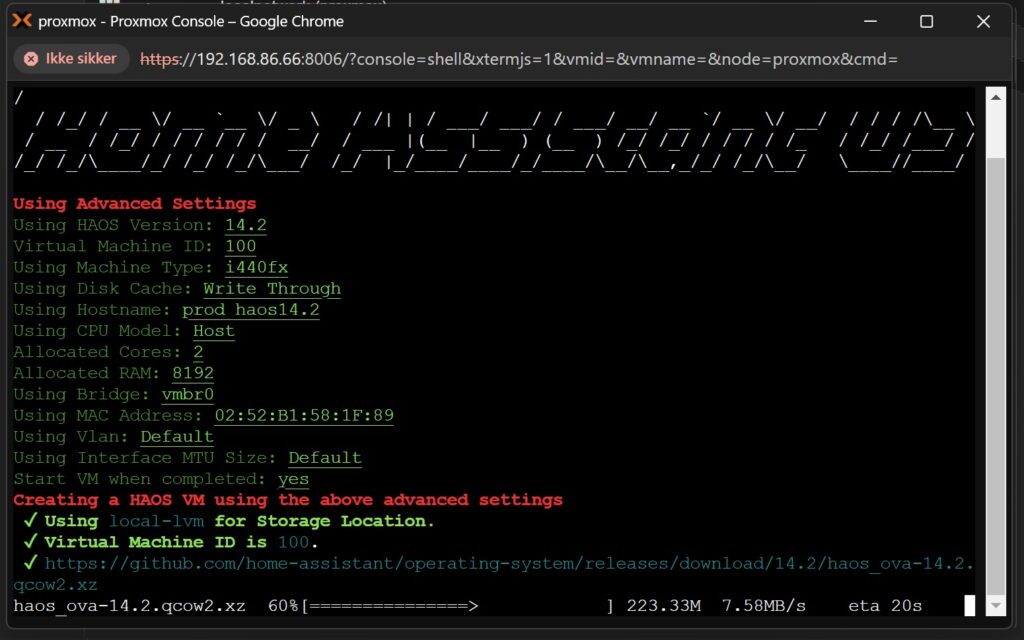
This script automates the process of creating a Virtual Machine (VM) using the official KVM (qcow2) disk image provided by the Home Assistant Team. It involves finding, downloading, and extracting the image, defining user-defined settings, importing and attaching the disk, setting the boot order, and starting the VM. It supports various storage types, and does not involve any hidden installations. After the script completes, click on the VM, then on the Summary tab to find the VM IP.
- The disk must have a minimum size of 32GB and its size cannot be changed during the creation of the VM.
- After the script completes, click on the VM, then on the Summary or Console tab to find the VM IP.
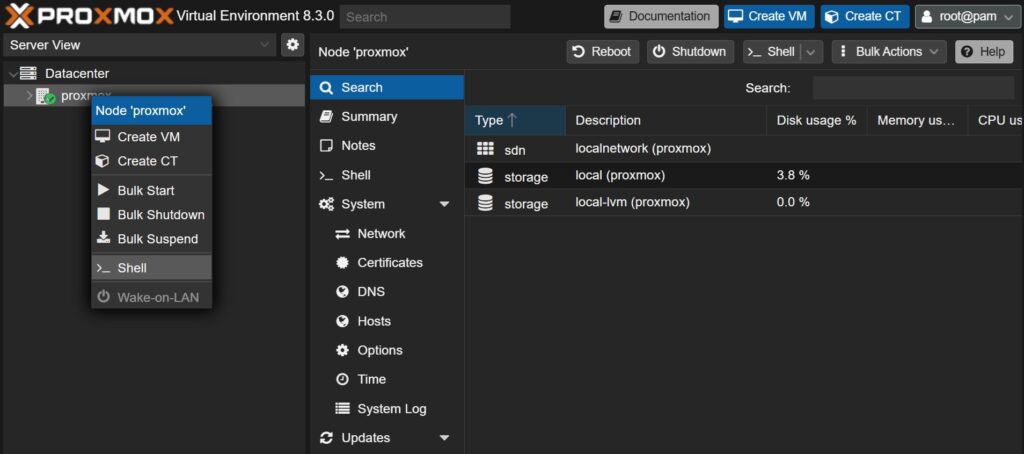
First we need to log into Proxmox web interface and start a shell. To open the Proxmox console, right click the proxmox node and select “>_ Shell”.
How to install a new Proxmox VE Home Assistant OS VM, run the command below in the Proxmox VE Shell: bash -c “$(wget -qLO – https://github.com/community-scripts/ProxmoxVE/raw/main/vm/haos-vm.sh)”
You are asked about creating a new Home Assistant OS VM (Operating System Virtual Machine), you can also send installation data, if you don’t mind sharing that.

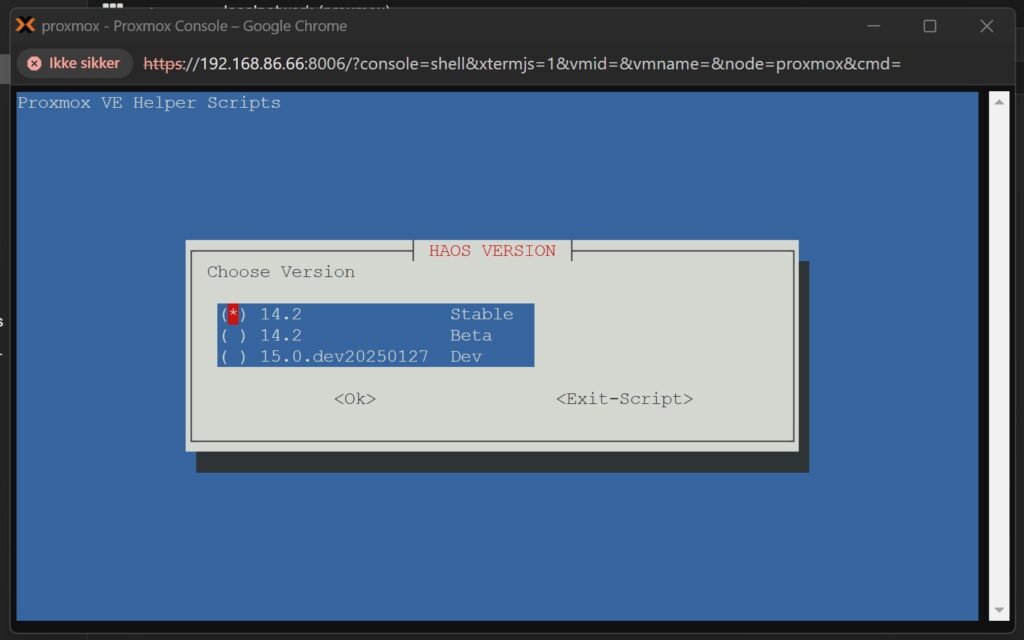
Choose “Advanced Settings” before continuing. Default settings will give you trouble further on. Use Tab to change between button, arrows to change between options and Spacebar to make selections.

Choose Stable version, unless you are in town for beta testing or trying out the latest development version. You can follow this same guide once again, and easily add another VM with a test system, without risking anything happening to your running production system, that we are currently installing.
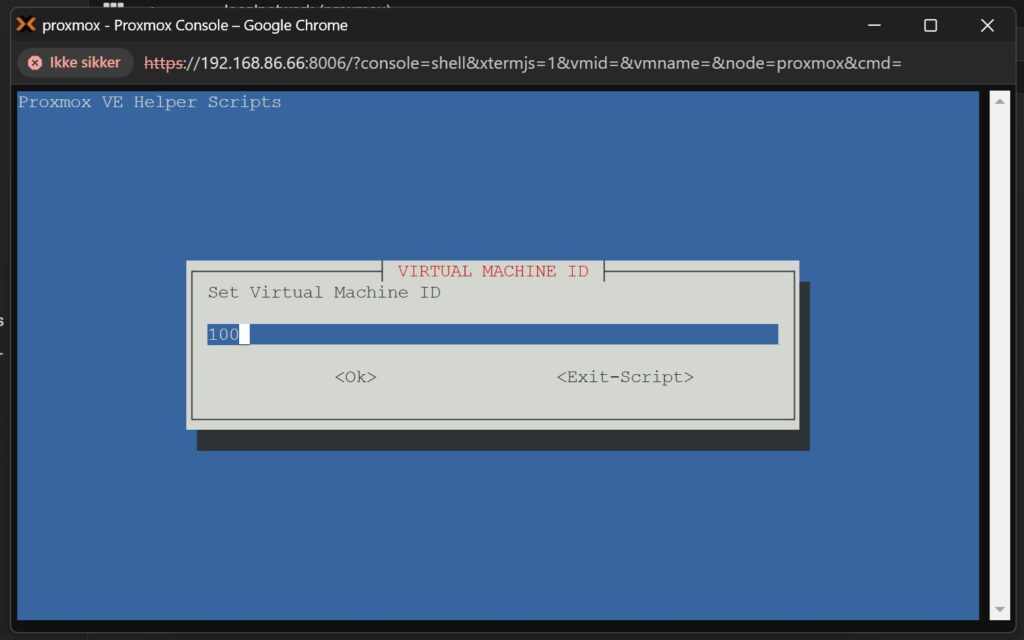
Virtual Machine ID is just a number, but it has to be unique among all your virtual machines.
Using the default 100 is a fine start.
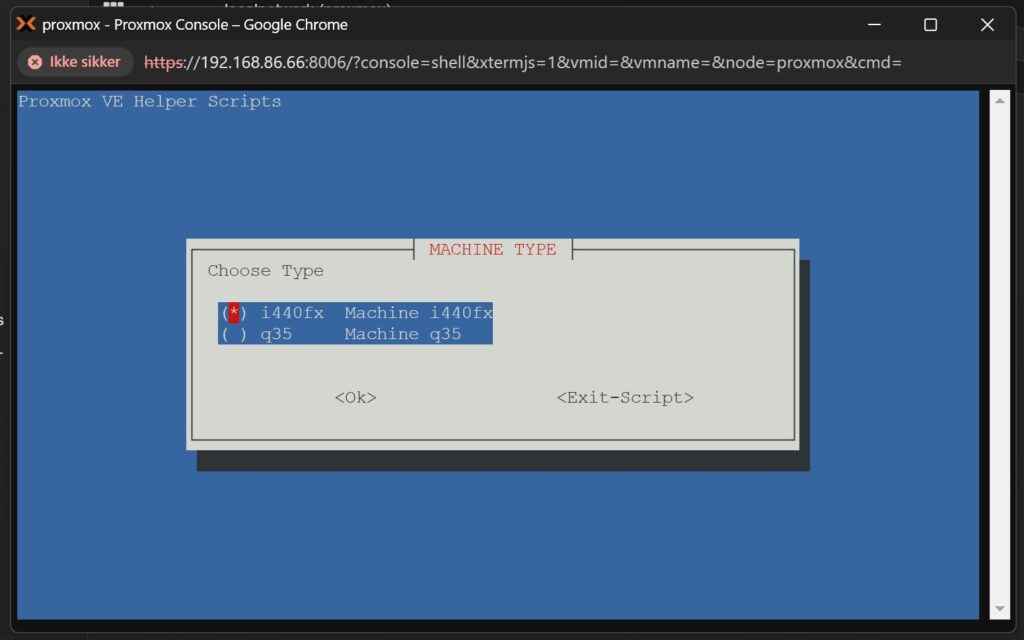
Machine Type is the emulation of chipset, i440fx will work for almost all VM. q35 should be chosen for the latest and most modern features, like PCIe passthrough, which we do not need for HAOS.
Choose i440fx.
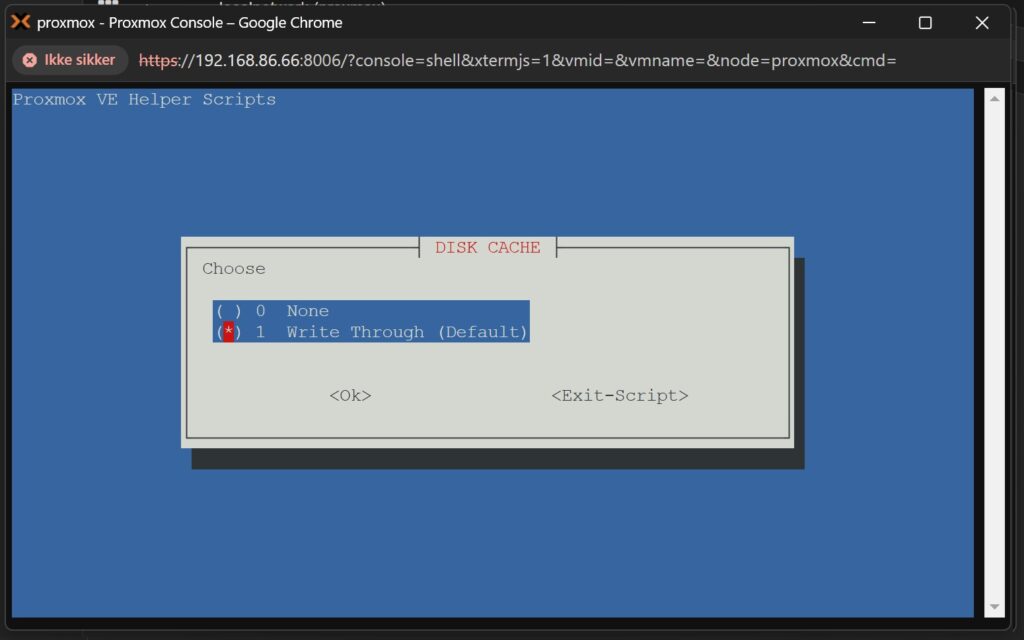
Disk Cache is all about speed or safety of data. Write Through will be slower, but it will protect against data loss on unsuspected power loss. So if you are using a UPS and trust your power supply, None could be chosen on hardware where resources are not endless.
Choose Write Through.
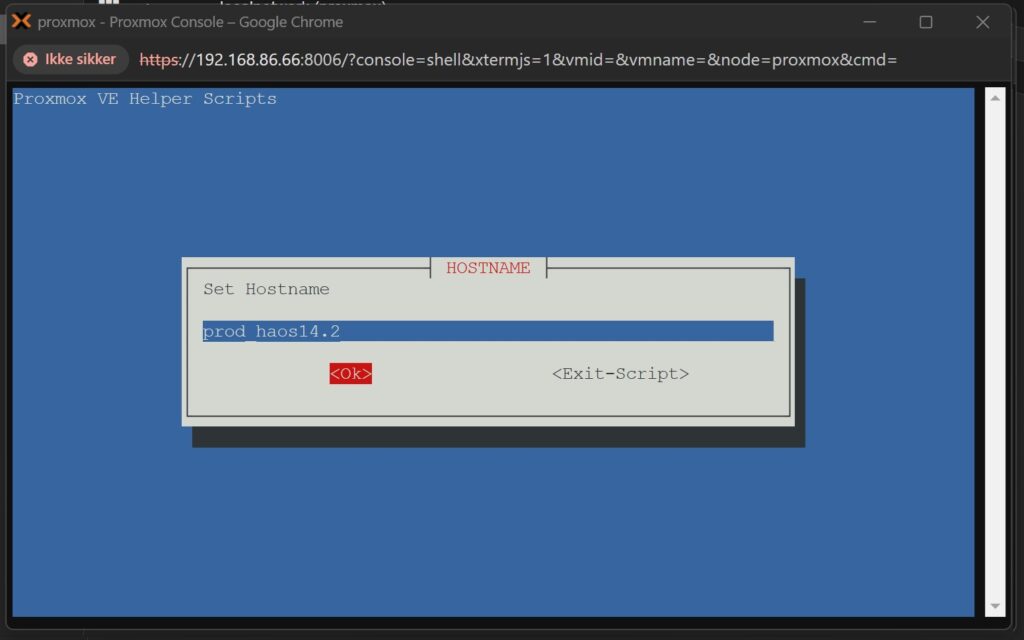
The default hostname is fine, but I like to add prod or test in front of my virtual machines, to better identify which systems I am working on. Do not use underscore as I did in the image, see further down for error.
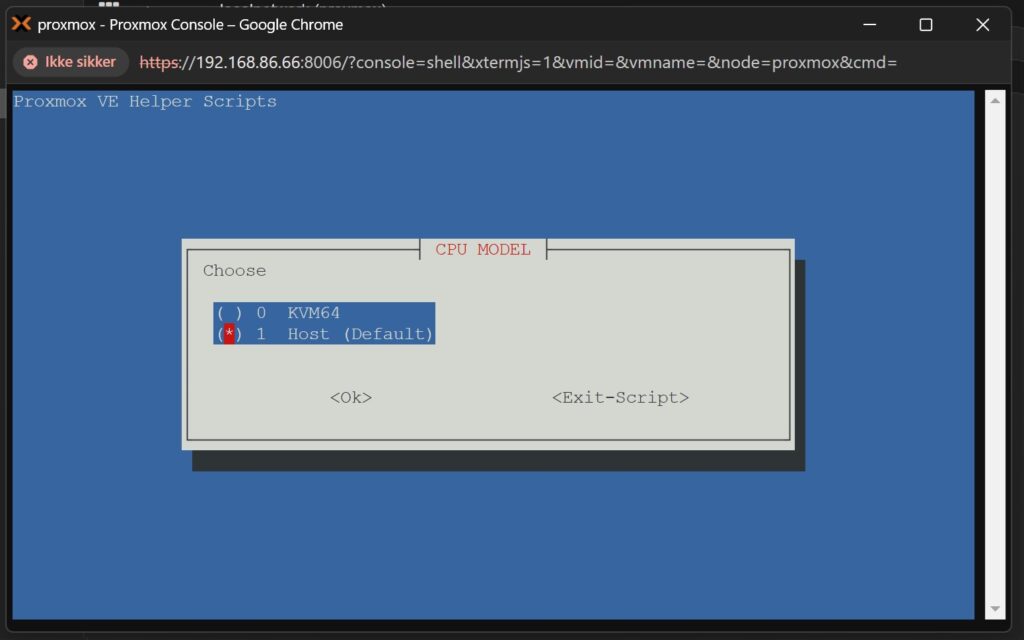
CPU Model, KVM64 is a restricted model with less instructions available. Host will pass down CPU model from Proxmox.
Choose Host.
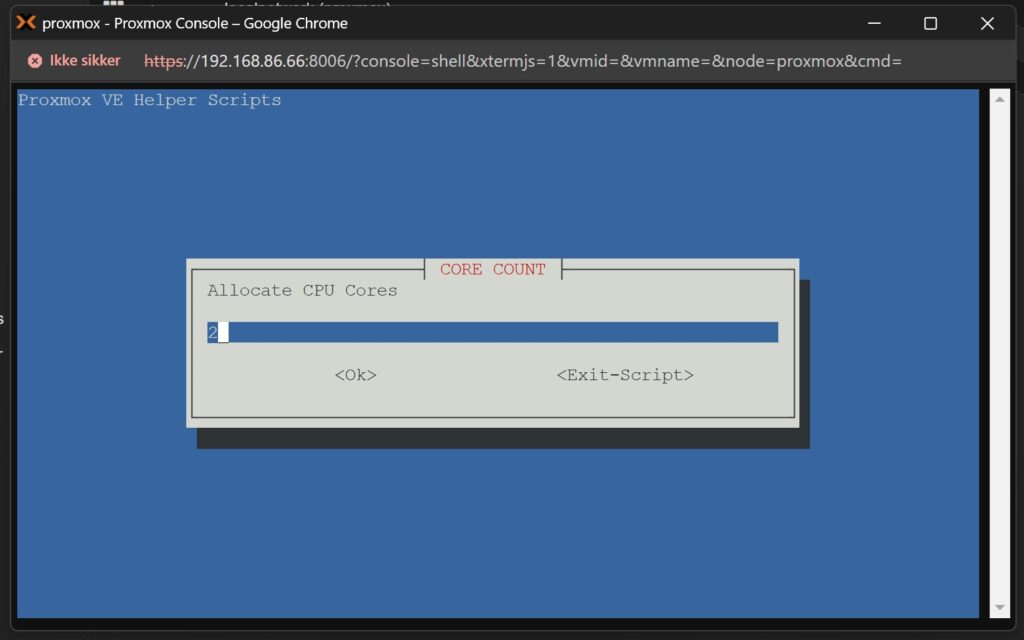
Depending on how many CPU cores you have in your PC, allocate at least 2 for HAOS. You could also allocate more, depending on what other VM you plan on running.
I have 4 cores in my CPU and choose 2 CPU cores.
Ram to be allocated. Recommendation is again dependant on what you have available. For machines with 8GB RAM in total, use 2-6GB for HAOS, the more the better. For machines with 16GB RAM in total, use 6-8GB for HAOS.
I have 16GB RAM and choose to use 8GB (8192 MB).

Use default name “vmbr0” for network bridge. Use suggested MAC address. Use default VLAN (leave blank). Use default MTU Size (leave blank).
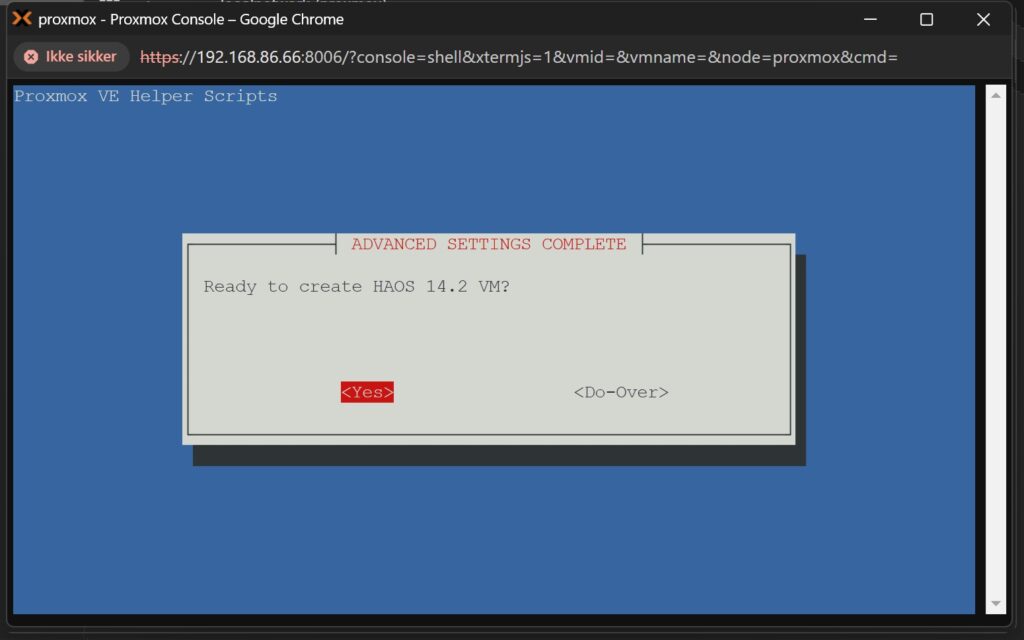
We are almost there! Choose Yes to start the virtual machine, when completed.

Enjoy the download and installation proces. Maybe even go fetch some fresh coffee.
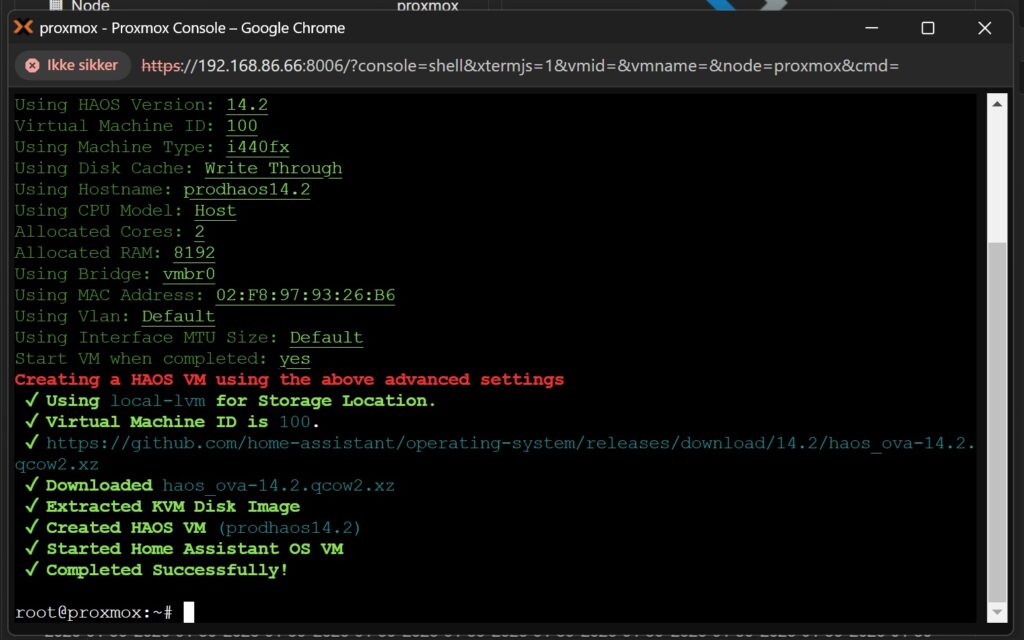
I got an error the first time around, which is a bit tricky. The error is “name: invalid format – value does not look like a valid DNS name”. This is due to a illegal hostname, chosen in a previous step. I corrected the hostname to be “prodhaos14.2”.

I restarted the installation, corrected the hostname and now installation is done.
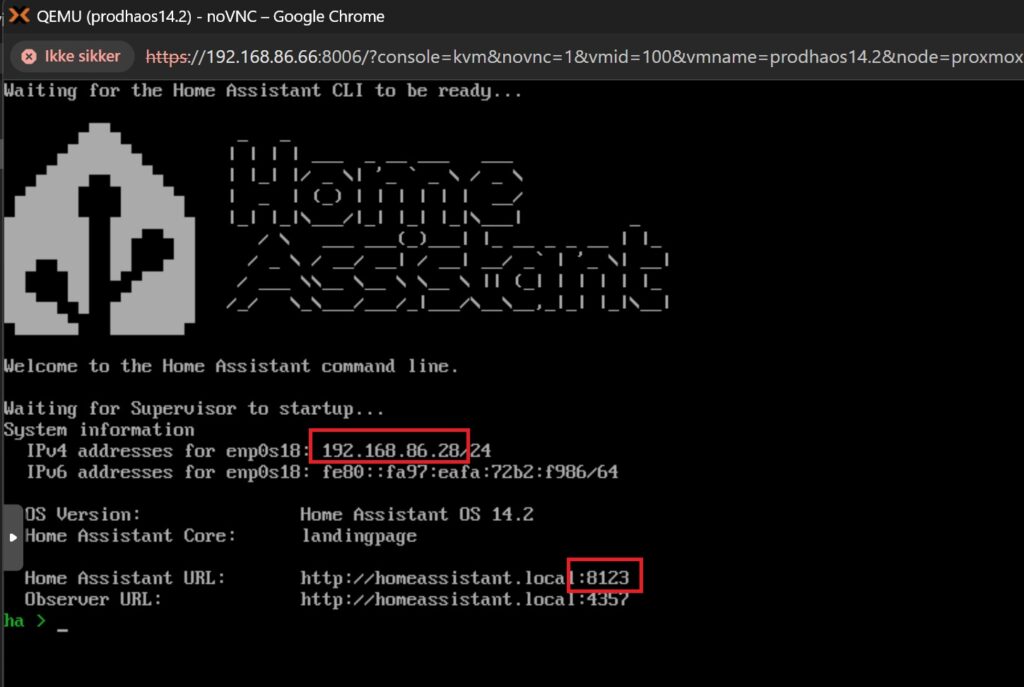
To verify that the HAOS is running, right click on the new VM and select “>_ Console”
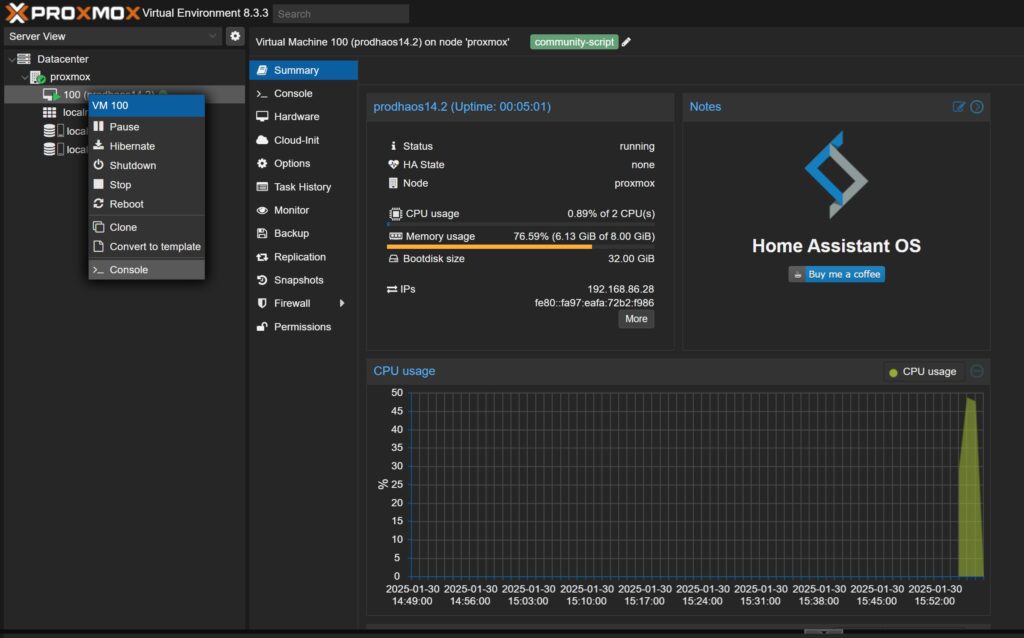
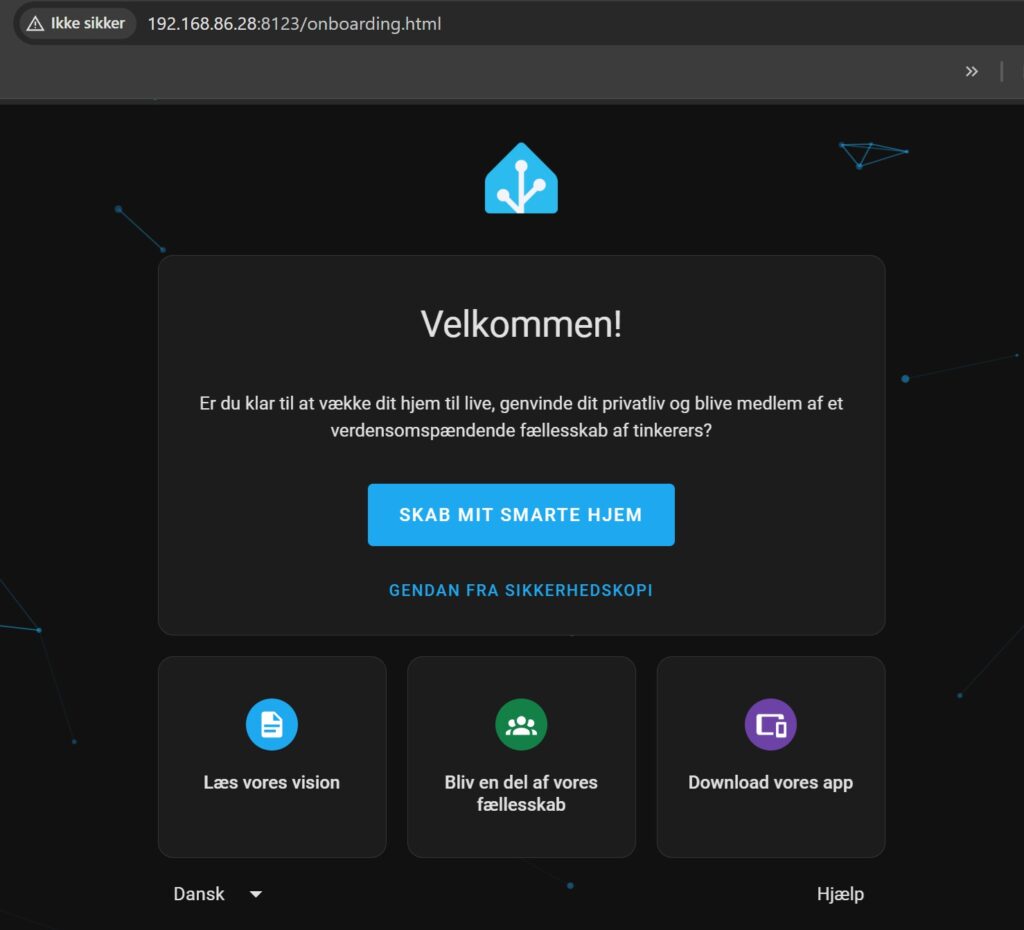
You can now access Home Assistant from another PC through the web interface, by using the IP address and port number as listed under system information and HA URL :8123.
Home Assistant is now running and ready to create your smart home in!
This concludes installing Home Assistant in Proxmox. For configuration of Home Assistant, see this guide: Configuring Home Assistant and Proxmox Extensions
Discover more from SCADA, PLC and Automation Engineering
Subscribe to get the latest posts sent to your email.
I just installed HAOS and it uses 6.55 GiB of 8.00 GiB of RAM right out of the box, without even going through the Welcome screen
Hi KKO
Did you try to reboot it?
My server running Proxmox, uses 4 GB of RAM in total. It is only running HAOS, no other VM. I can read this out from the HA webserver from this integration of server stats: https://disorder.dk/wonderware/2025/01/30/configuring-home-assistant-and-proxmox-extensions/
Kind regards
Mads