
To get started with virtualization, Proxmox is a wonderful free and powerful software. Follow these 4 steps to get Proxmox running and to use it for something like running Home Assistant OS.
- Connect a monitor, keyboard, mouse and ethernet cable to your computer.
- Prepare the bootable USB
- Prepare BIOS setup
- Install Proxmox
Hardware requirements
Besides the regular peripherals and cables listed above, a 8GB USB memory stick is enough to use for the bootable Proxmox media.
Computer hardware requirements are low as 64-bit CPU, 2GB memory, Intel VT/AMD-V capable CPU, harddisk and a network interface card.

I bought a refurbished Lenovo ThinkCentre M910q with the following specifications:
- Intel i5-6500T, 4 core, 6MB cache, 3.1 GHz
- Intel Q270 Chipset
- Intel HD Graphics 530
- 16GB DDR4 PC4-2133 RAM
- Micron 1100 MTFDDAK256TBN 256GB 2.5-inch SATA III
Bootable USB
Download Proxmox installation ISO from: https://www.proxmox.com/en/products/proxmox-virtual-environment/get-started and use any kind of ISO image burner or bootable USB tool that you already have or can find from a simple online search.
Lenovo ThinkCentre M900 BIOS setup
Press F1 at booting to enter BIOS setup.
A few settings needs to be changed, to support virtualization and make the PC behave as a server.
Advanced > CPU Setup -> Enable “Intel (R) Virtualization Technology” and “VT-d”

Power > After Power Loss > Enable “Power On”

Startup > Primary Boot Sequence > Put USB KEY first with pressing + while its highlighted. From Proxmox 8.1 and later, UEFI can be used.

Security > “Device Guard” should be disabled, else virtualization is not allowed.
Install Proxmox
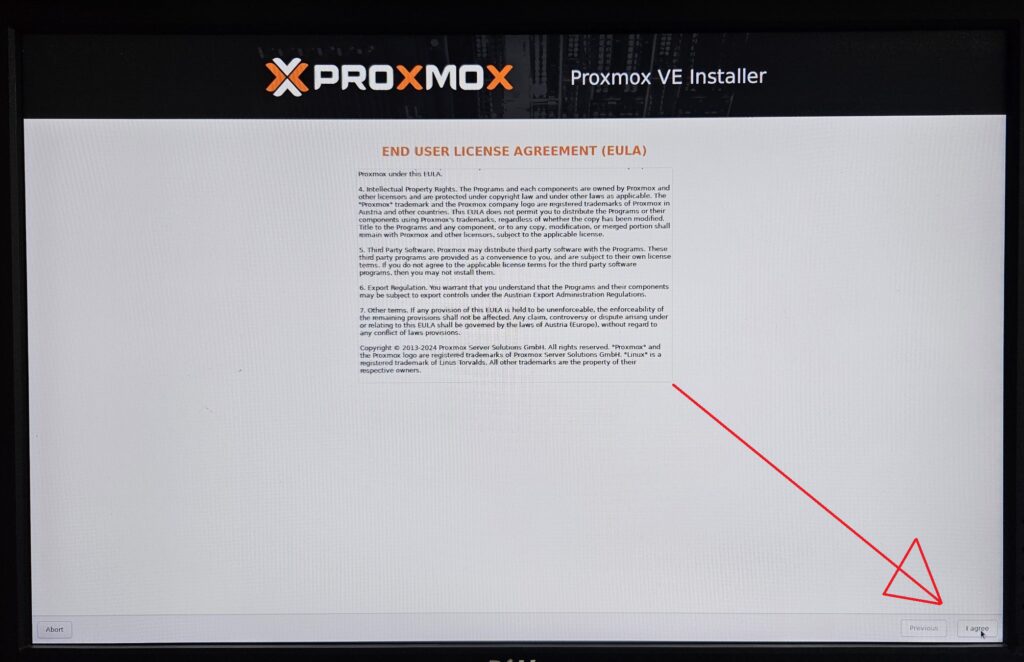
Choose the graphical UI.

Navigation is located down in the right corner, when looking for agree, next and install buttons.
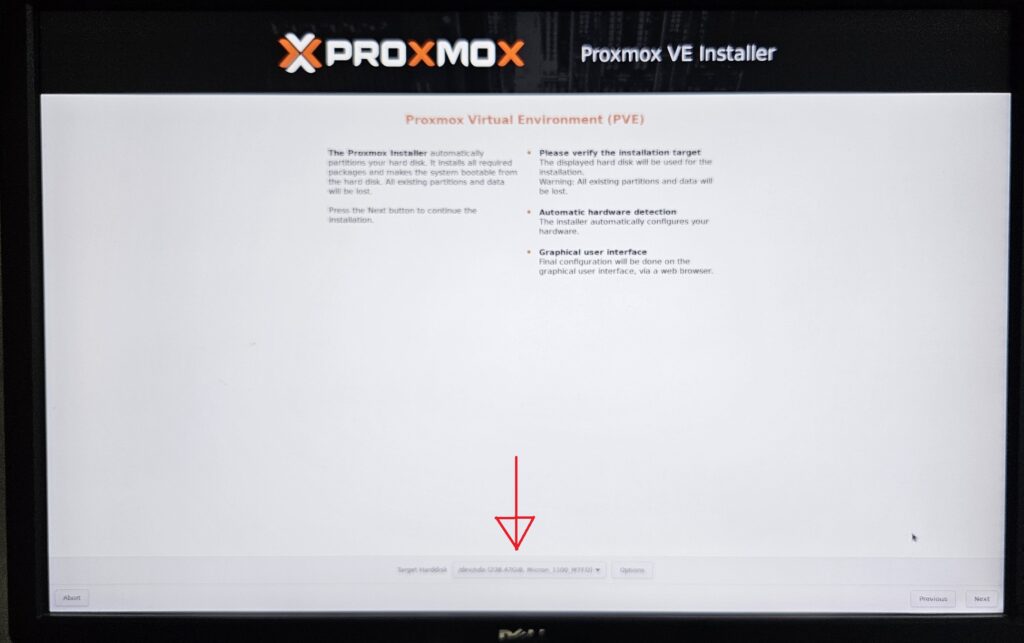
Choose harddisk to install on.
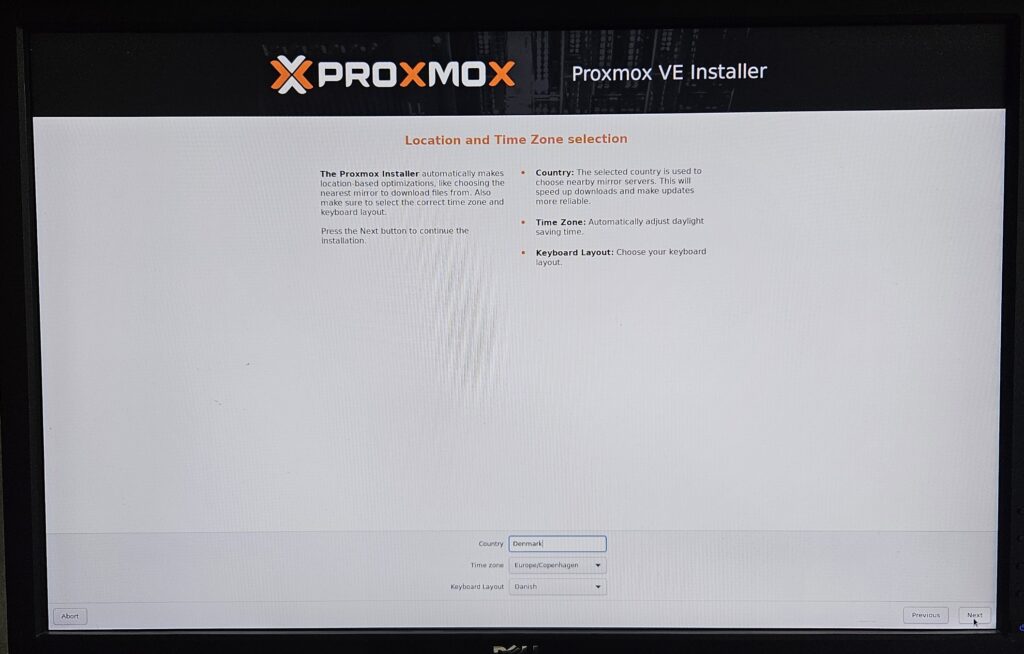
Choose time zone.
Chose password for root and write it down! and enter email for notifications.
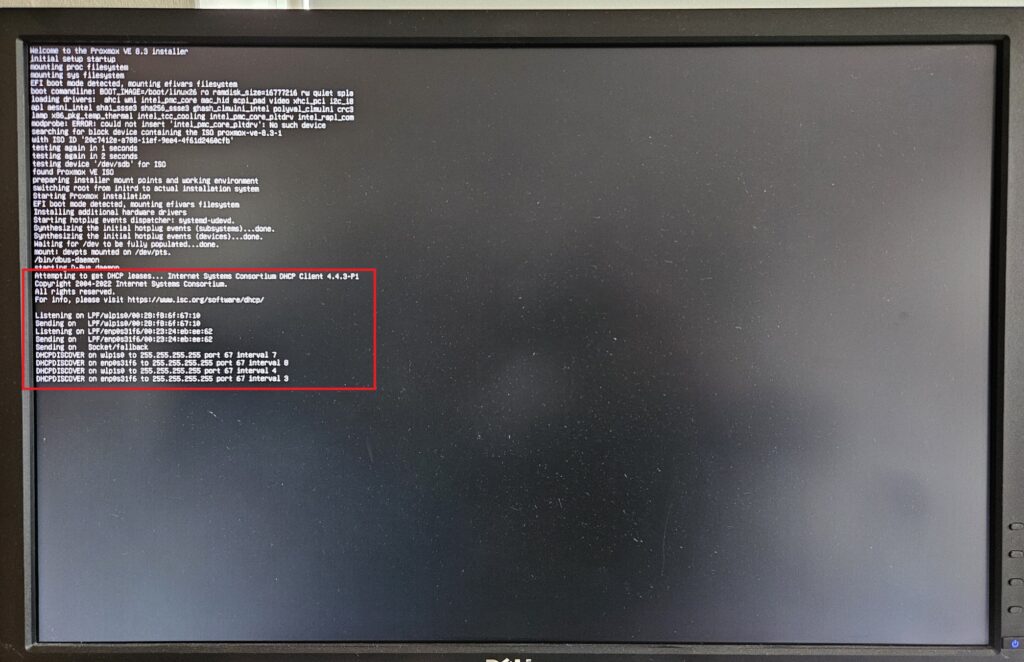
Network settings should hopefully automatically populate from DHCP, else enter your network details. Be sure to choose the ethernet and not wifi interface.

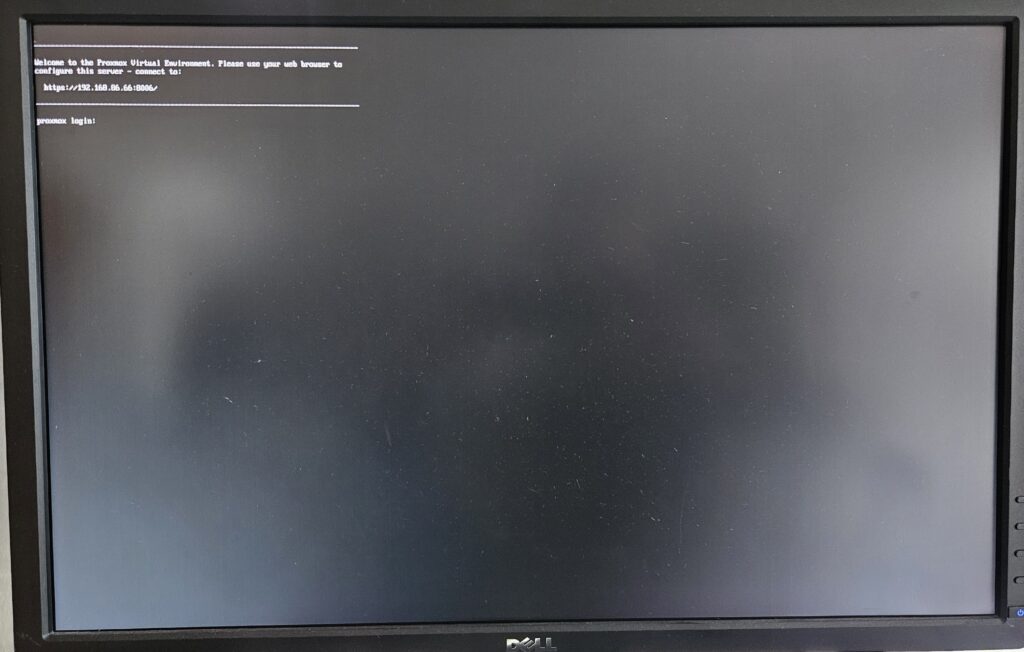
As seen in the above image, I had forgot to plug in the cable when booting up the installation. So the DHCP service did not capture an IP address. You need to be quick and take a picture of the loading text, to catch this!
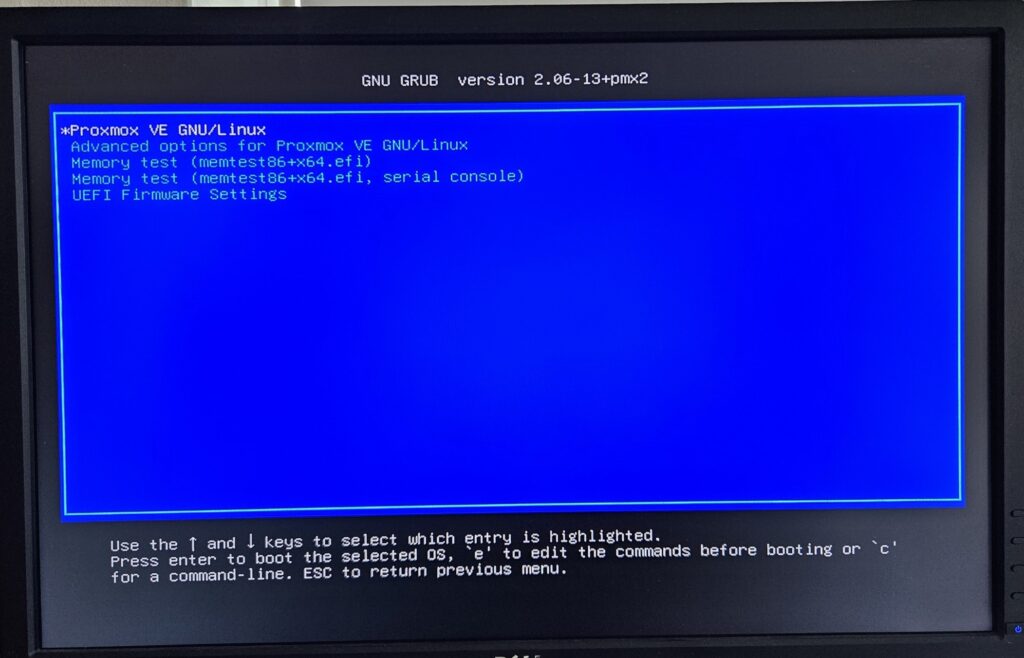
When installation is done, the PC will reboot, remove the USB stick to avoid it rebooting into installation menu again. Choose to boot up in Proxmox at GNU GRUB menu.
Proxmox is now running and tells your to continue in a browser, from another PC.
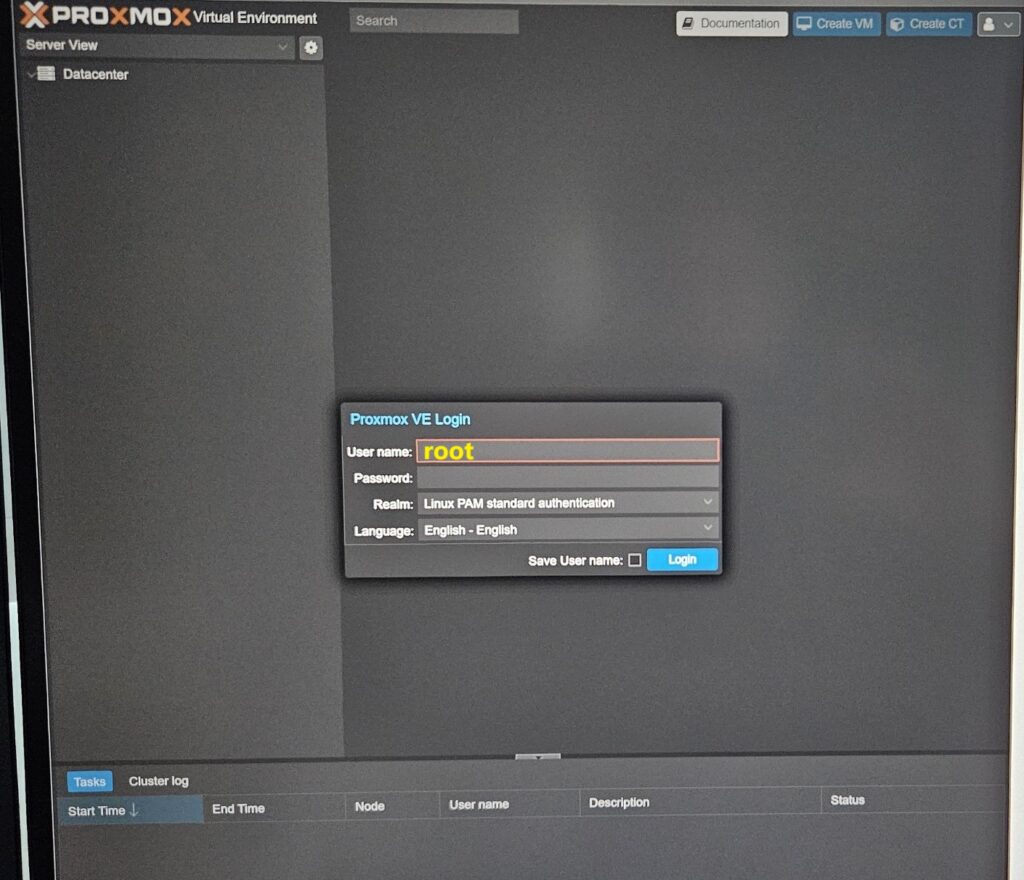
Login in with root username and the password you chose earlier.
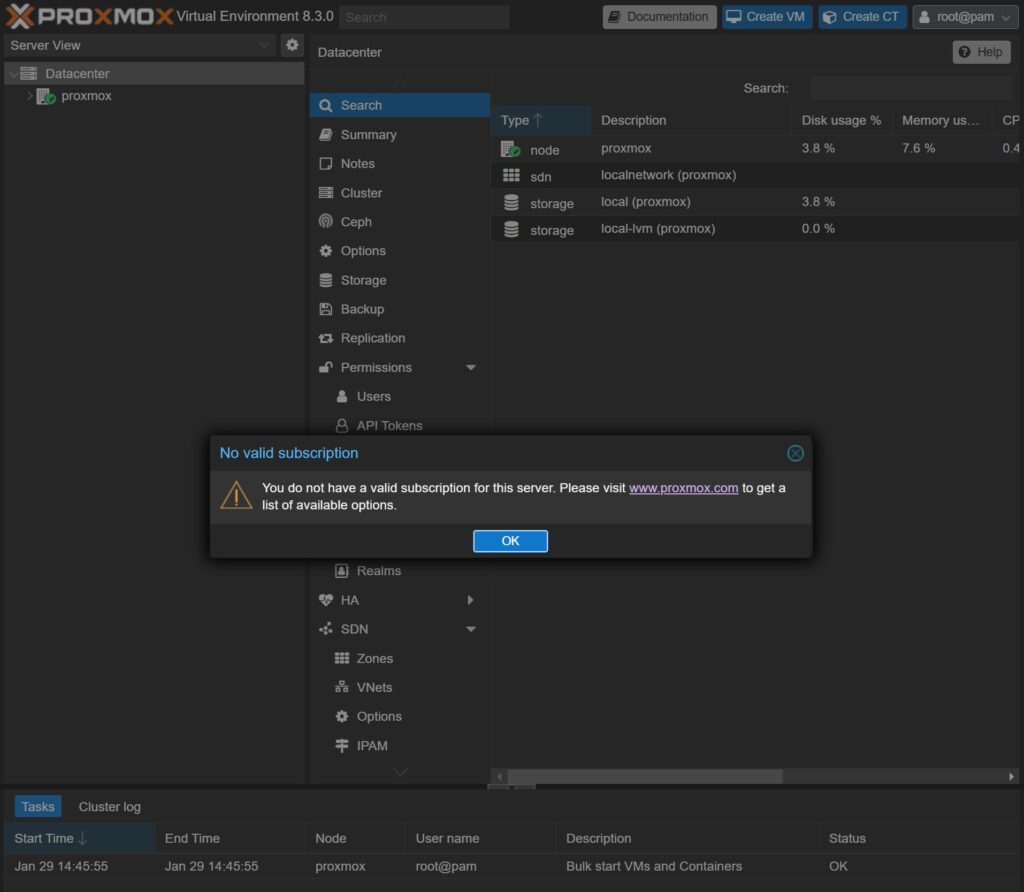
Proxmox will show you a popup, that you are running without a subscription. Proxmox is still working for free for a homelab, but you can choose to support with the community subscription or the appropriate subscription, if used professionally.
Configuring and Updating Proxmox
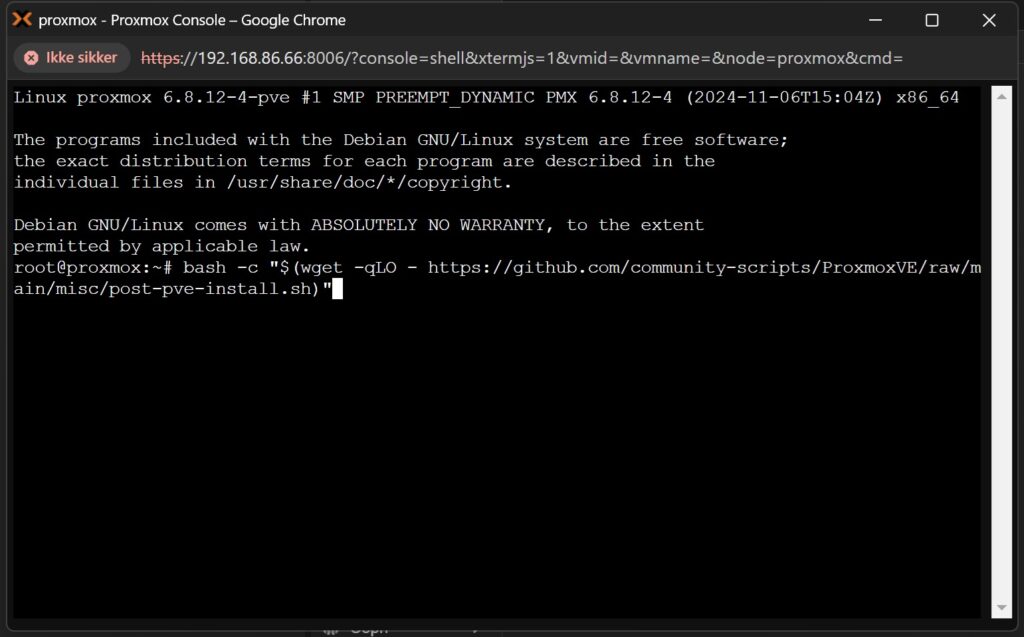
With the help from Proxmox community scripts, it is easy to do the post install routines.
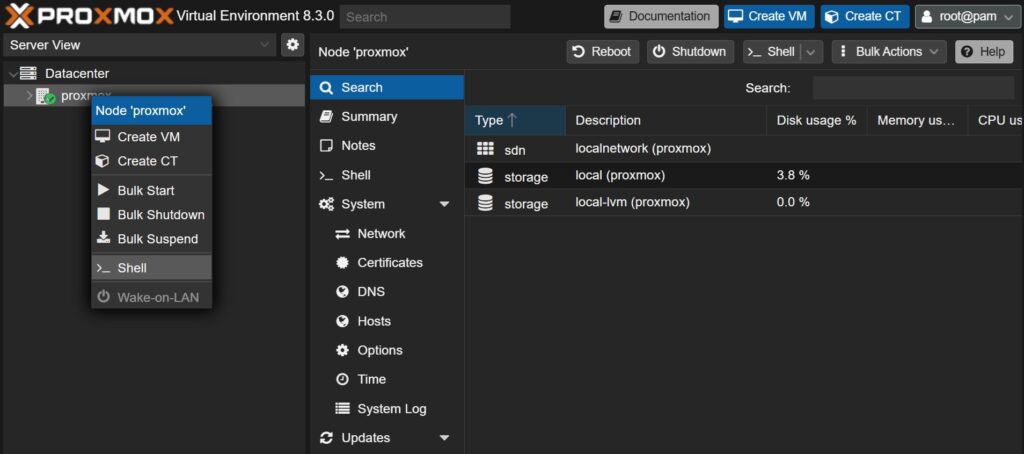
Open the Proxmox console, by right clicking the proxmox node and selecting “>_ Shell”
From https://community-scripts.github.io/ProxmoxVE/scripts?id=post-pve-install its described as:
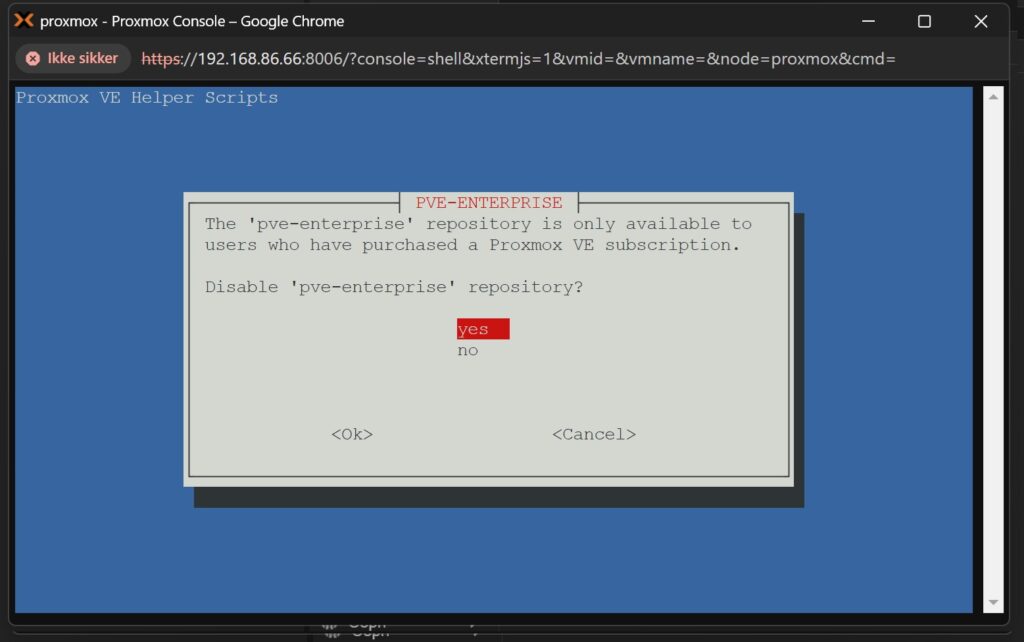
This script provides options for managing Proxmox VE repositories, including disabling the Enterprise Repo, adding or correcting PVE sources, enabling the No-Subscription Repo, adding the test Repo, disabling the subscription nag, updating Proxmox VE, and rebooting the system.
How to use the Proxmox VE Post Install script, run the command below in the shell: bash -c “$(wget -qLO – https://github.com/community-scripts/ProxmoxVE/raw/main/misc/post-pve-install.sh)”
Update (15th January 2026) to shell command: bash -c “$(curl -fsSL https://raw.githubusercontent.com/community-scripts/ProxmoxVE/main/tools/pve/post-pve-install.sh)”
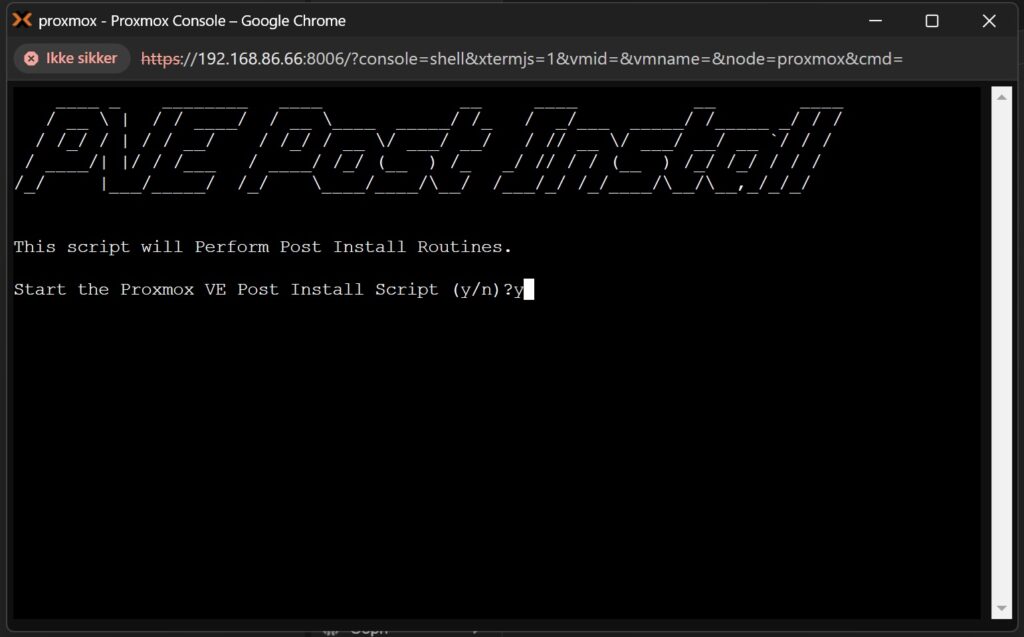
Follow the steps, answer YES to all. Depending on subscription, you might have to choose differently.


Notice how kind they are, to ask about showing nag screen on having no subscription.
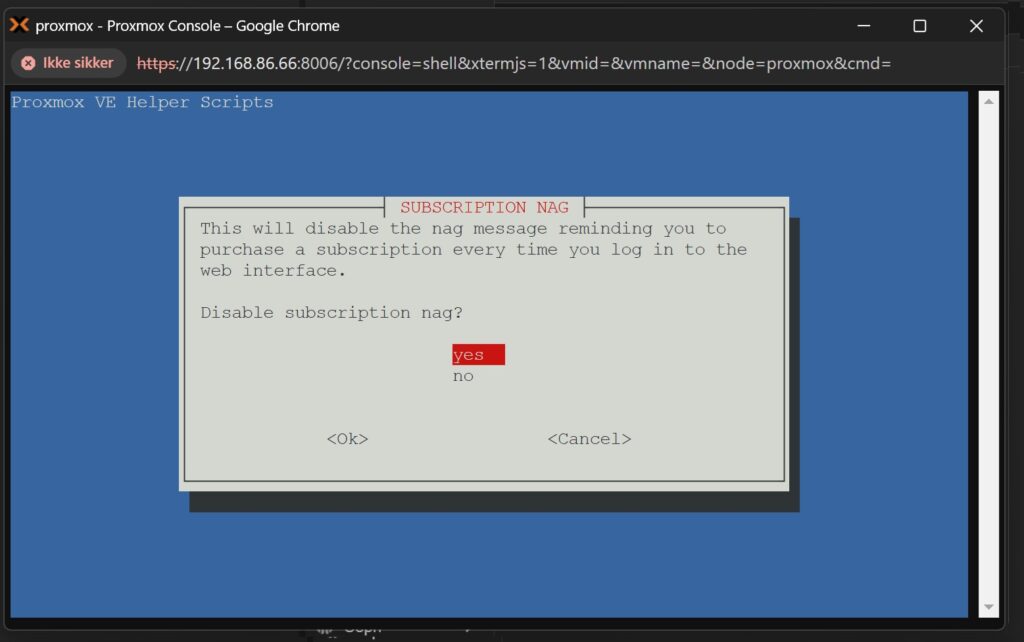
High Availability (HA) is only for redundant server setups and should not be in the scope of a homelab.

Final step, update Proxmox.
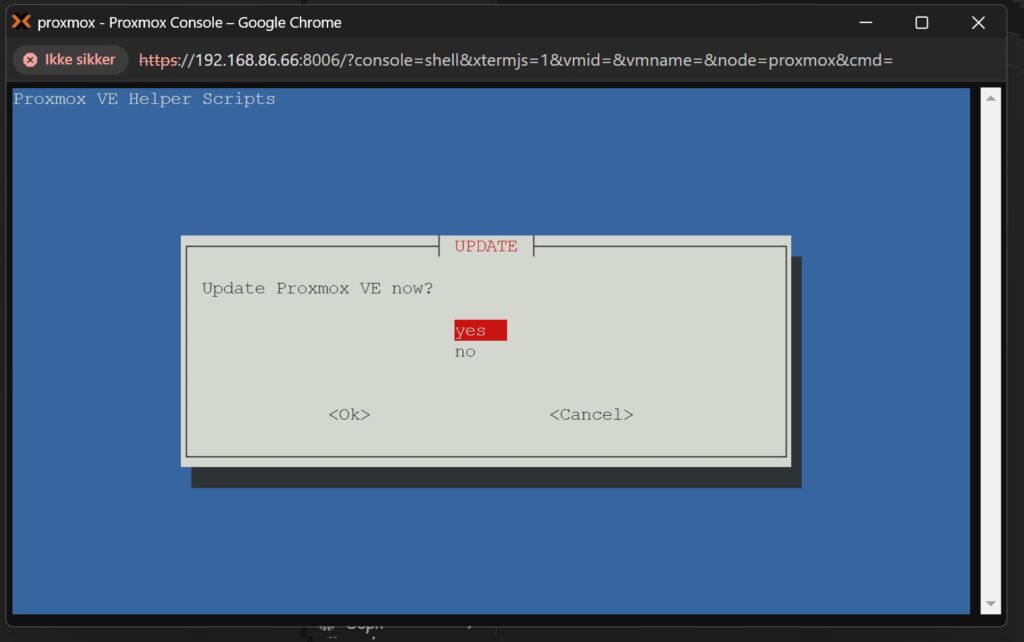
Sit back and enjoy some coffee.
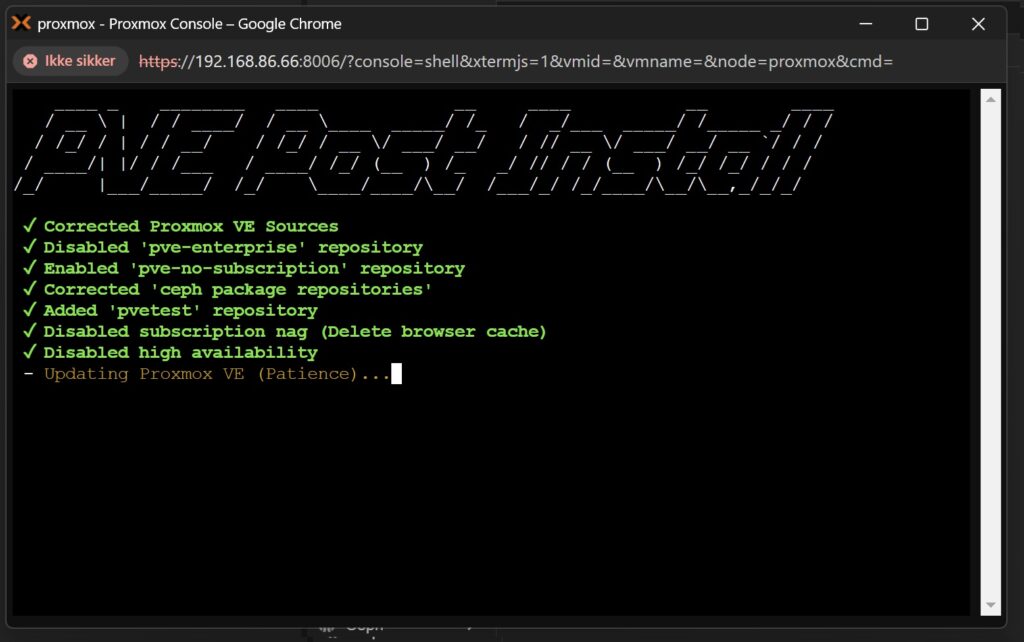
Reboot Proxmox once you are asked to do so.

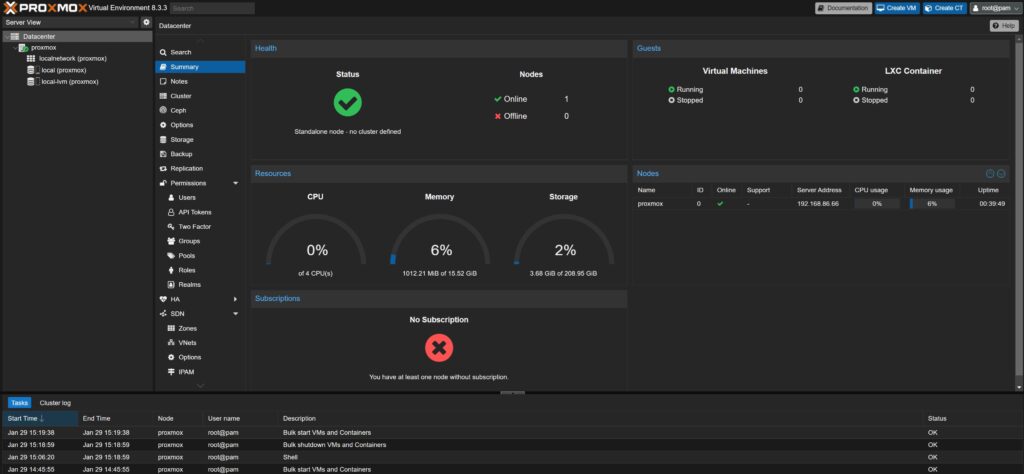
Proxmox is now installed, updated and configured for basic operation and creating your first virtual machines. Let us enjoy the view of the summary dashboard, to see CPU, memory and storage utilization.
Discover more from SCADA, PLC and Automation Engineering
Subscribe to get the latest posts sent to your email.
Thanks for this helpful guide! Under Configuring and Updating Proxmox the post install script url seems to be stale, and I had to change it to the following in case that helps anyone else:
bash -c “$(curl -fsSL https://raw.githubusercontent.com/community-scripts/ProxmoxVE/main/tools/pve/post-pve-install.sh)”
Hi J Harris
Thank you for the report on changing URLs. If other users get the same problem, try to visit the root of the repository to find the latest updated shell scripts.
Kind regards
Mads